In How to Train for a Backpacking Trip – Part I, we dove into goals for backpacking and a general plan to prepare for your trip. In How to Train for Backpacking – Part II, we will go deeper into specific strength exercises anyone can do at home to get in backpacking shape. We recognize that not everyone has easy access to a gym, so all of the following can be done without equipment or improved if you have some basic items. Each exercise has an included variation, for a greater challenge, and an alternative if you would like to add variety.
The Warmup: ~5-10 minutes
- 5-10 min of cardio (could include hiking, jogging/running, walking, cycling, swimming, martial arts, etc.)
- Some dynamic stretching
Dynamic vs. Static Stretching
Flexibility and mobility are often overlooked, yet both are essential to getting your body operating at its full potential. Stretching before and after physical activity not only helps improve flexibility and mobility but prepares your muscles for the activity, improves your performance, and can help reduce your chance of injury and promote recovery.
Dynamic stretching is ideally used during your warm-up. It involves actively moving your joints through their full range of motion instead of holding a stretch for an extended period. This form of stretching helps to improve performance by warming up your muscles, decreasing muscle stiffness, and lubricating your joints.
Static stretching improves flexibility and should be used during your cooldown after exercise. This form of stretching involves moving a muscle as far as it will go in its range of motion, without pain, and holding that position for 20-45 seconds. Used correctly, static stretching can help reduce the chance of injury and improve recovery. Static stretching during a warm-up may negatively impact performance because it can reduce the body’s ability to react quickly.
Some tips for training:
- Everyone enjoys different types of exercise and starts with different abilities. Make variations to this as you see fit. Remember the general training goals from Part I.
- Take adequate rest breaks but remember to try and keep your heart rate elevated throughout the workout.
The Exercises: ~30-45 minutes
Here is a breakdown of the exercises. Remember that with strength exercises, it is important to focus on form and not how many reps or how fast you can complete the exercise. When you feel you can easily complete the set, add some weight or repetitions. Breathing is equally important. Breathe in as you move through the exercise, and exhale as you return to the starting position.
Choose a challenging weight, but that you can complete the full set with. If you don’t have dumbbells, try using kettlebells, water jugs, or fill a backpack with weight and air squat with it.
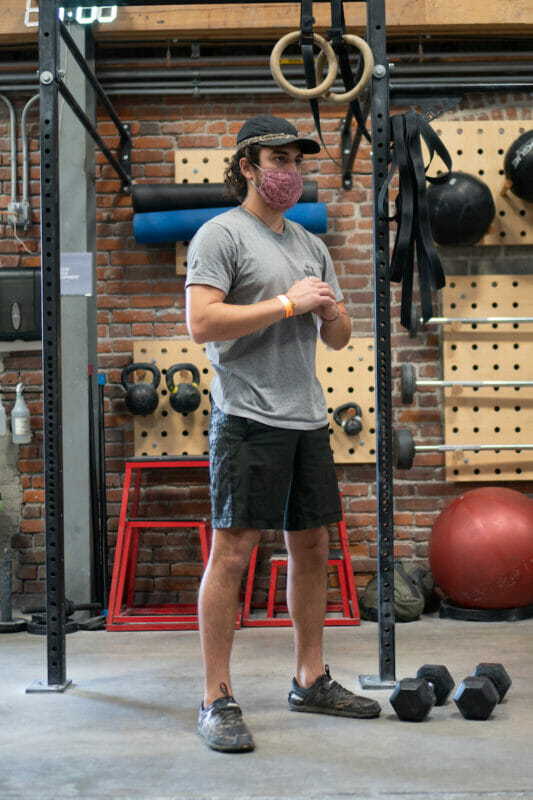
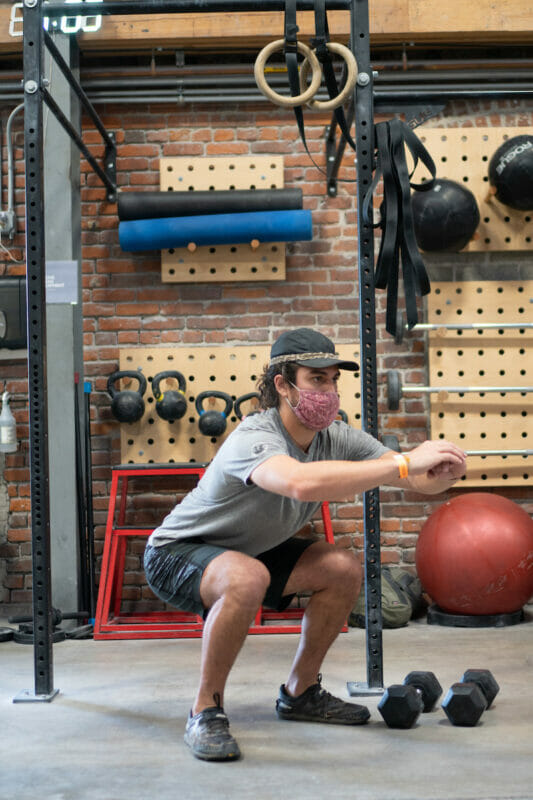
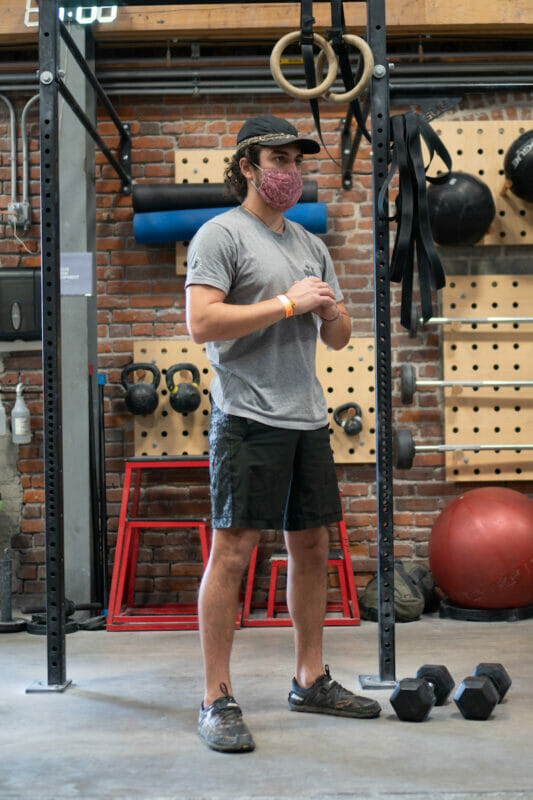
- Air squats – Stand with your feet shoulder-width apart. Squat down until your thighs are parallel to the floor. Keeping your chest up and your feet flat on the ground, push through your heels to return to your starting position. Try to keep your knees directly over your feet. Do 3 sets of 15 repetitions.
- Variation: Goblet squats
- Complete an air squat while holding a dumbbell between your hands as if you were squeezing a watermelon.
- Alternative: Jump squats
- Complete an air squat but as you return to the starting position, push through the feet, jump up, and land with bent knees. Immediately move into the next jump squat.
- Variation: Goblet squats
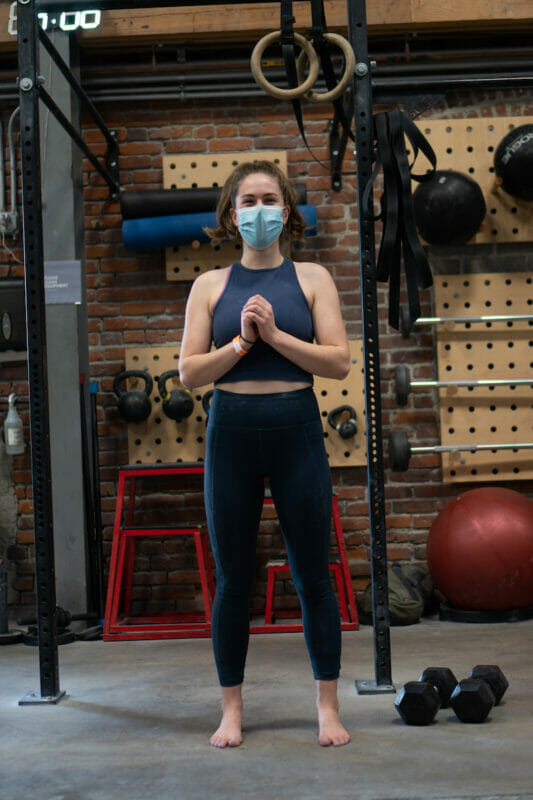
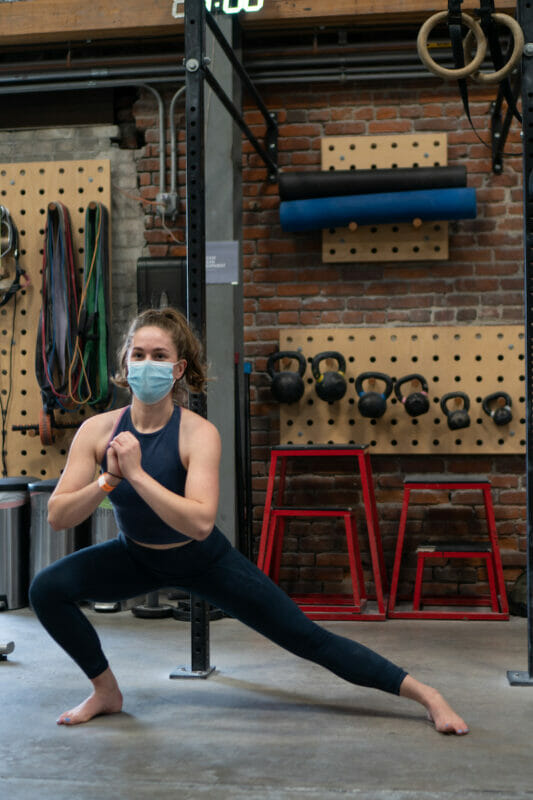
- Side lunge: Stand with your feet shoulder-width apart. Keeping your torso upright, take a large step to the side and bend your knee until your leading thigh is parallel to the floor. Try to keep your lead leg’s knee directly over your foot. Do 3 sets of 8 repetitions on each side.
- Variation: Goblet side lunge
- Complete the side lunge while holding a dumbbell in the same way as the goblet squat.
- Alternative: Curtsy lunge
- Stand with your feet shoulder-width apart. Move your weight to one leg, and step back and around with your other (as if performing a curtsy). Keeping your torso upright and your hips square, lower your body into the lunge until your thigh is parallel to the ground. Try to keep your weighted leg’s knee directly over your foot.
- Variation: Goblet side lunge
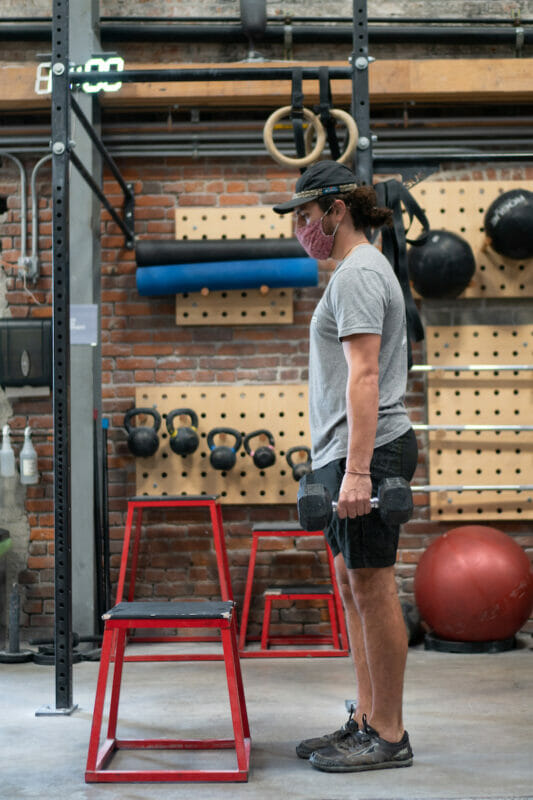
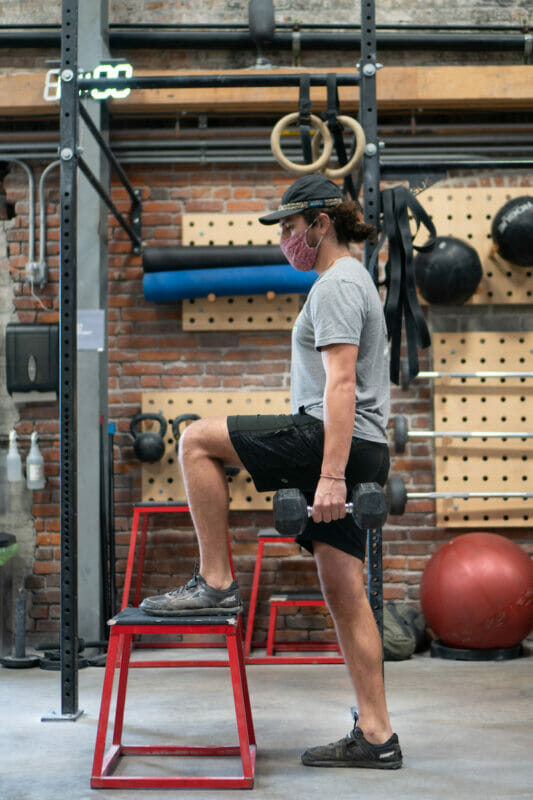
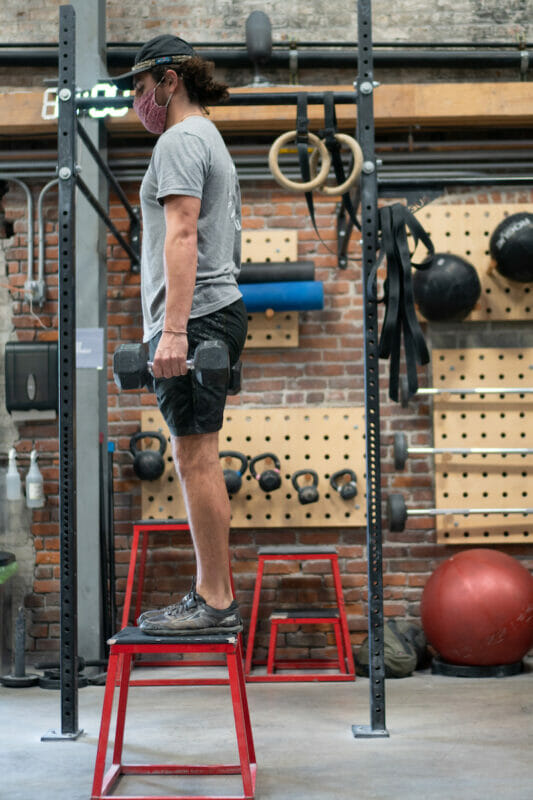
- Step-ups: Find an elevated, secure platform, such as a bench, that is about knee height. Standing in front of this surface, lift one foot onto it and push through that foot to lift your body off of the ground. Lower your body back down and switch legs. Keep your torso upright and your hips square. Do 3 sets of 10 repetitions on each side.
- Variation: Dumbbell step-ups
- Perform the step-up while holding dumbbells at your side.
- Alternative: Lateral step-ups
- Stand to the side of the elevated platform, perpendicular to a standard step-up position. Step onto the elevated surface sideways.
- Variation: Dumbbell step-ups
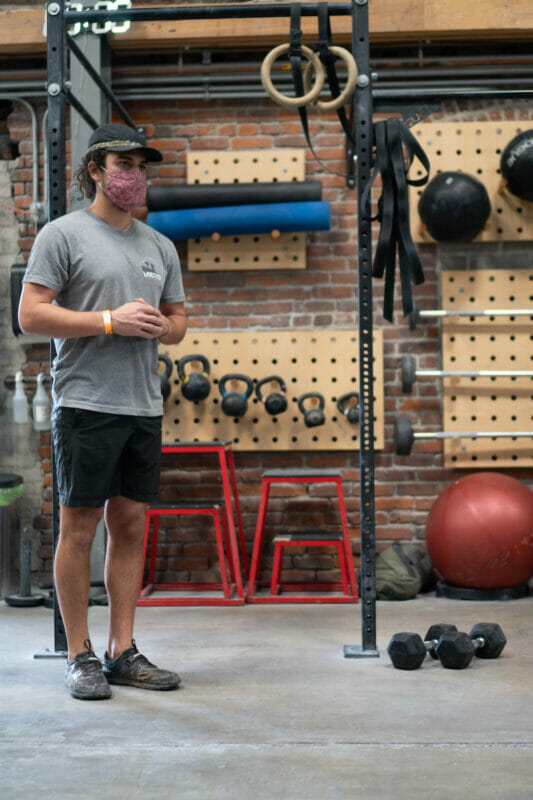
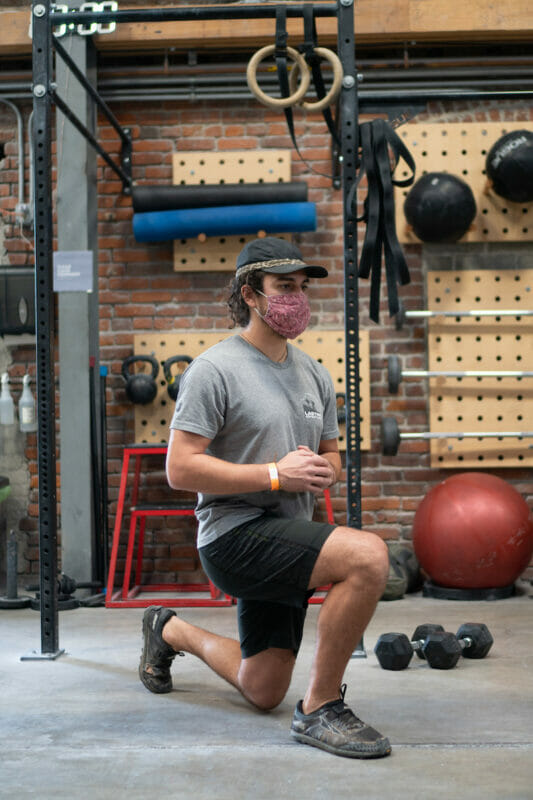
- Lunges: Start standing with your feet hip-width apart. Keeping your torso upright and hips square, take a large step forward and bend your knee until your thigh is parallel to the ground. Try to step far enough forward that your lead knee is over your lead foot. Your lead foot should remain flat with your toes pointed directly forward, and your rear heel will lift off the ground. Push off from your front leg to return to the starting position. Do 3 sets of 10 repetitions on each side.
- Variation: Dumbbell lunges
- Perform the lunge while holding dumbbells at your side.
- Alternative: Single-leg deadlift
- Start standing with your feet hip-width apart. Tilt your body forward, shifting your total weight to one standing leg while keeping your other leg extended and in line with your torso. From a side view, your body should look like a “T.” Keeping your core engaged, squeeze the glutes and return to the starting position. Try holding dumbbells or a kettlebell during the exercise.
- Variation: Dumbbell lunges
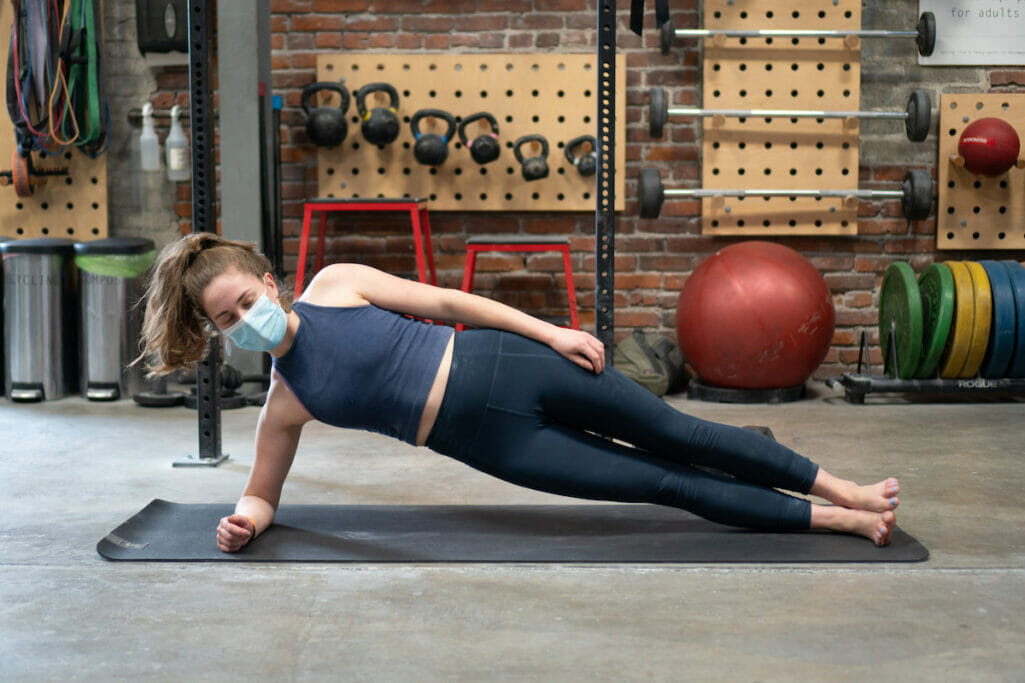
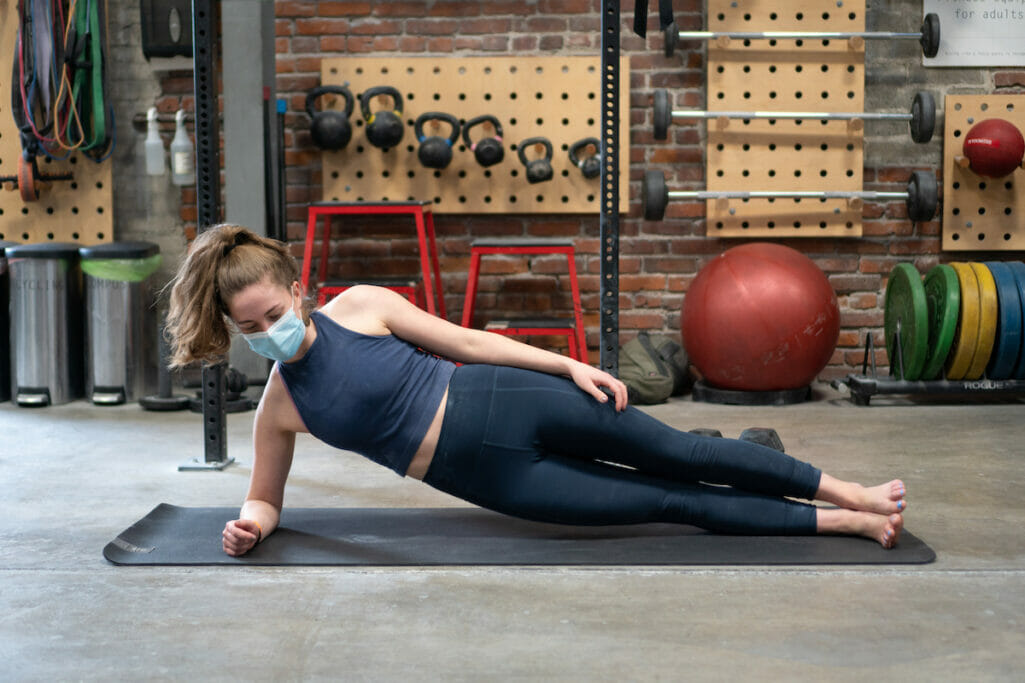
- Hip dips: Lie on your side with one arm supporting your body in a side plank position. Your elbow should be directly underneath your shoulder. Your opposite hand can rest on your hip with your elbow pointed upward. Keeping your core engaged, lower your hips until they gently touch the ground, then return to the starting side plank position. Do 3 sets of 10 repetitions on each side.
- Variation: Side plank (30 seconds)
- Lie on your side with one arm supporting your body with your elbow directly underneath your shoulder. Imagine a straight line in your body from your head to your toes. Legs and feet should be stacked on top of each other. Hold this position for the duration of your exercise.
- Alternative: Bird dogs
- Kneel on a comfortable surface with your knees hip-width apart and hands firmly on the ground directly beneath your shoulders. Extend one arm straight in front of you and the opposite leg straight behind you. Form a straight line from the hand to the foot and keep the hips squared by engaging the core. Hold the position before returning to the starting position to switch.
- Variation: Side plank (30 seconds)
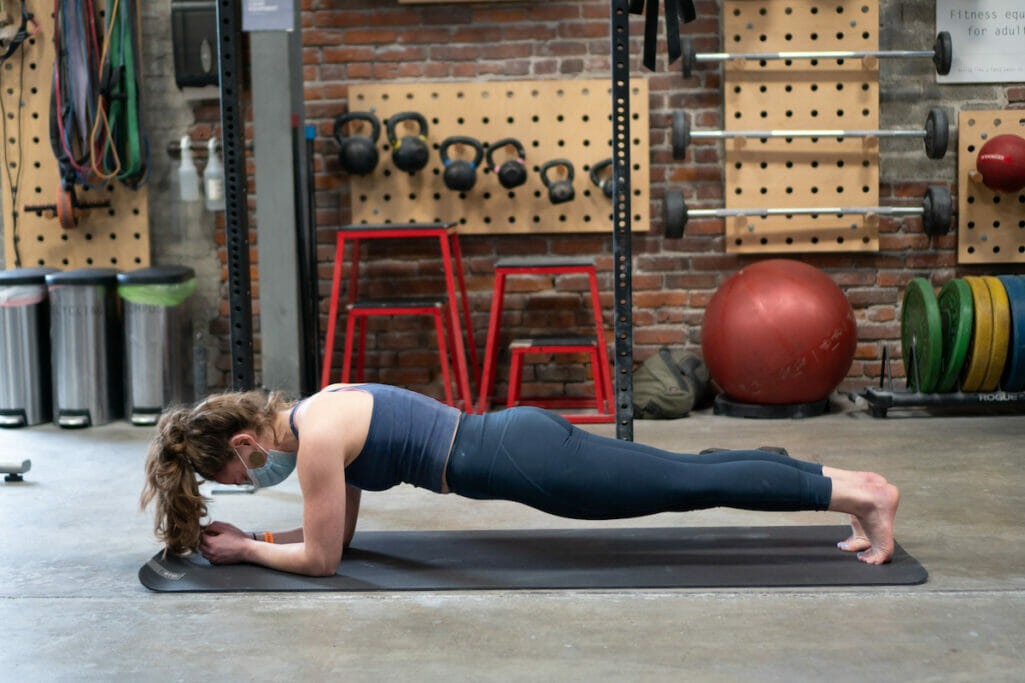
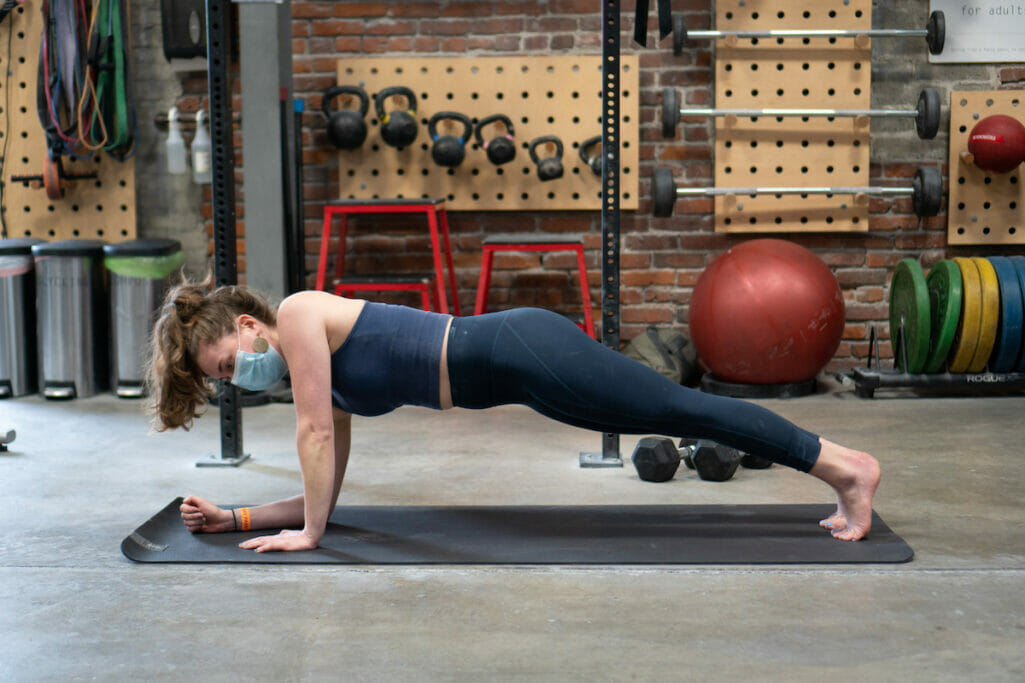
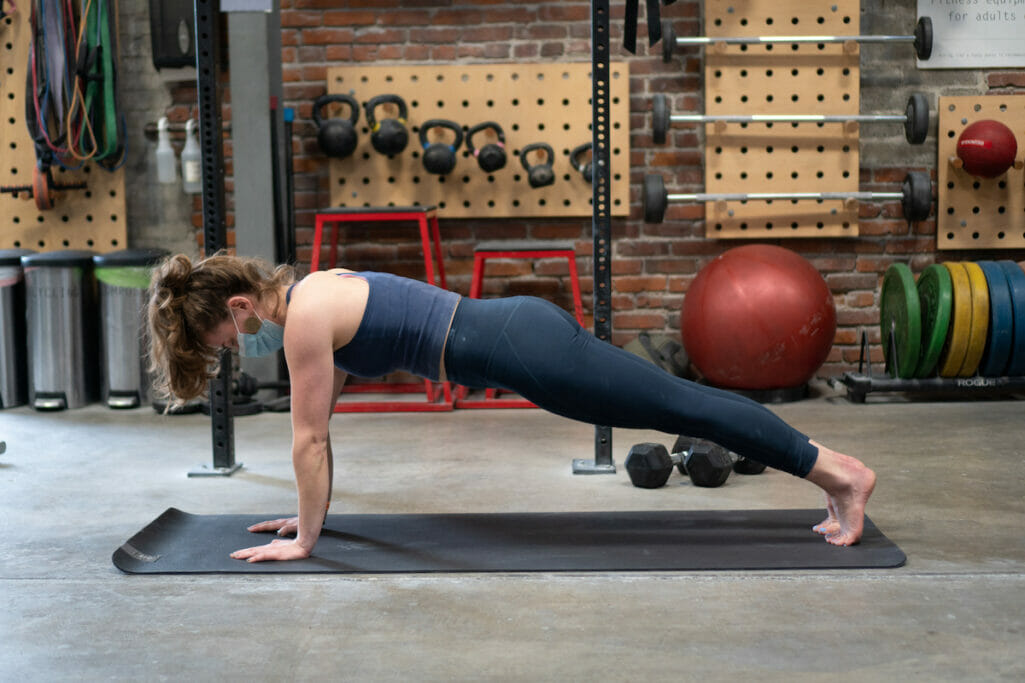
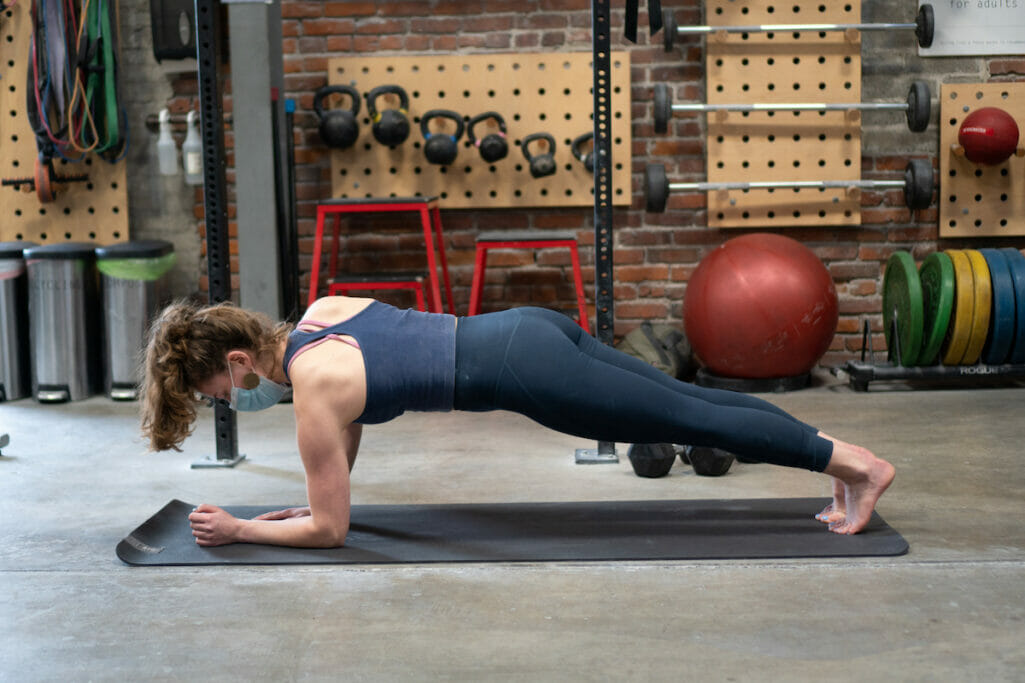
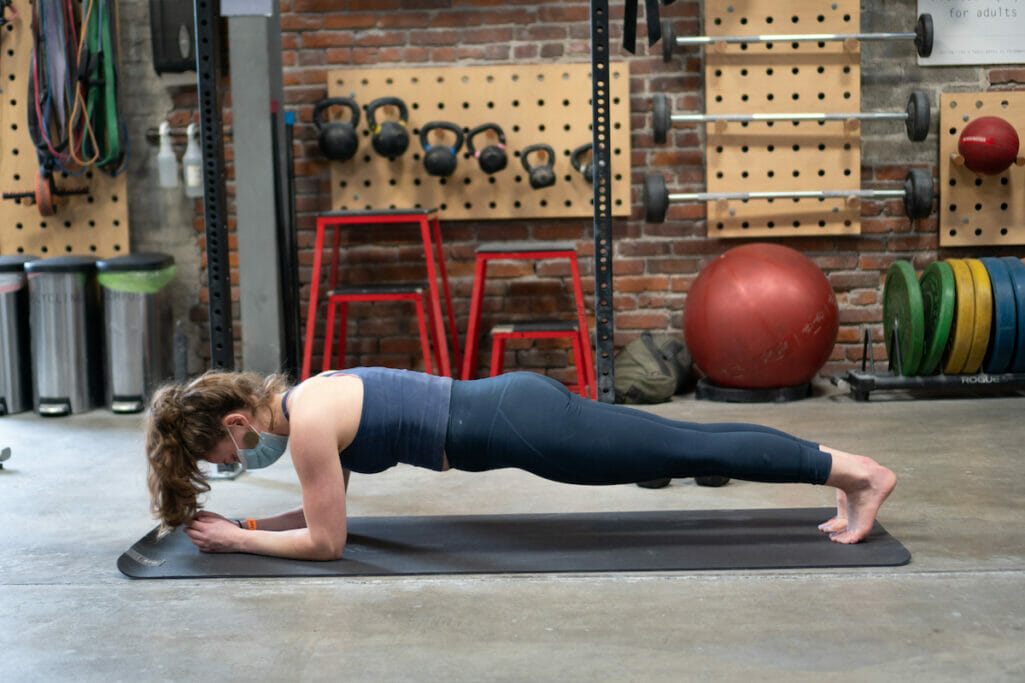
- Plank: Find a comfortable flat surface large enough to extend your full body. Place your forearms on the ground, with elbows directly below your shoulders, and get on your tiptoes. Engage your core and pull your abdominals and hips into a straight line from your ears to your heels. Avoid allowing your torso, hips, or core to sag below the line. Do 3 sets for 20-30 seconds each.
- Variation: Plank-ups
- Assume a plank position on your forearms. Place one hand firmly below your shoulder and press into the ground lifting your body up in a pushup motion. During extension, mimic this movement with the opposite hand until you are in a full pushup position. Gently lower yourself back to the plank position by reversing the motions.
- Alternative: Mountain climbers
- Start in a pushup position. Pull one knee into your chest and then extend it back out. Repeat with the opposite leg and continue alternating until completion. Remember to keep your hips down and your core engaged.
- Variation: Plank-ups
The Cooldown: ~5-10 minutes
- Some static stretching
No matter how you train for backpacking ahead of time, you’ll be glad that you did SOMETHING. The work put in will be well worth it when the main things that take your breath away are the views.
Disclaimer:
This article is not intended to provide medical advice on personal health issues. If you are starting an exercise program or have preexisting health concerns that might be exacerbated by exercise, please consult your physician, dietician, certified personal trainer, or appropriate professional before starting a program.
Article by Nicholas Estrada
Photo credits: Nathan Yamaguchi
The post How to Train for Backpacking – Part II appeared first on Lasting Adventures | Top-Rated Guide Services.


